

On this page
Starting the Validation Process
Sign in, navigate to your company profile, and initiate validation.
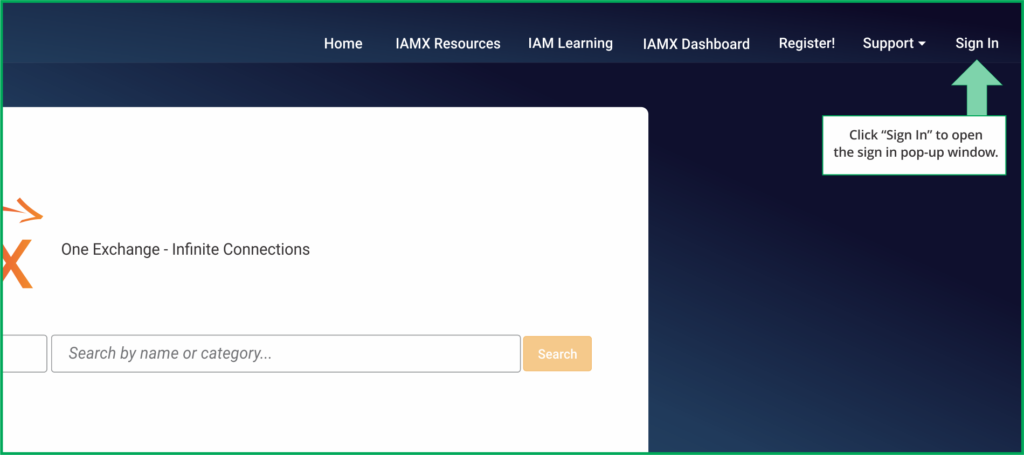
The first step is to sign in to your IAMX account. If you need help, see How to Sign In to IAMX.
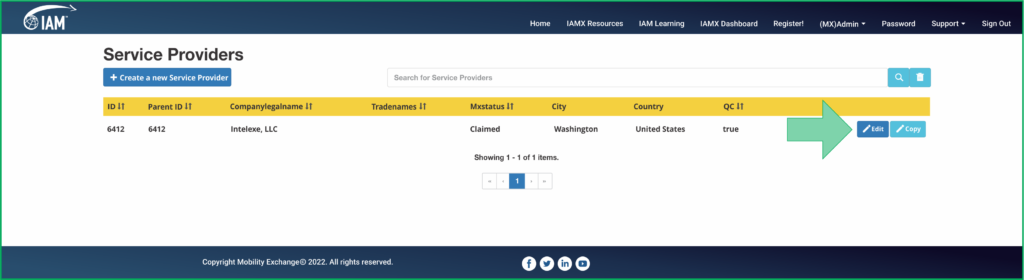
Click the "Edit" option. If your login credentials are specific to one Service Provider, you will see the screen above. Click the blue "Edit" button on the right.
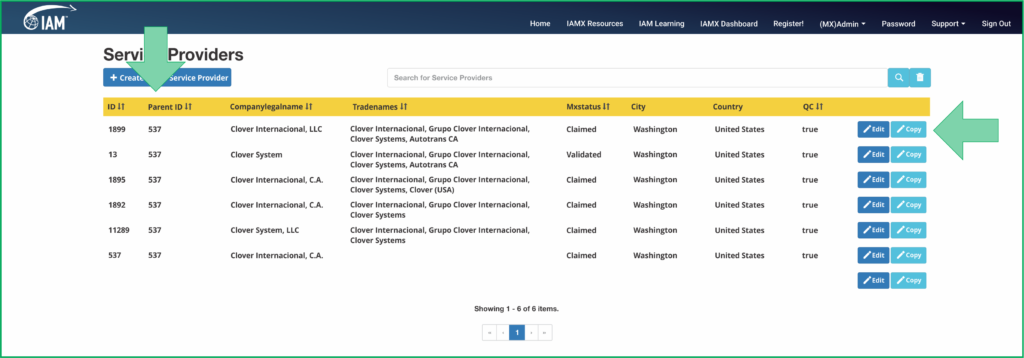
If you have related companies and have signed in with parent (headquarters) level credentials, you will see a list of related companies. Click the blue "Edit" button next to the service provider you wish to validate.

Once in Edit mode, click the green "Validate My Listing" button.
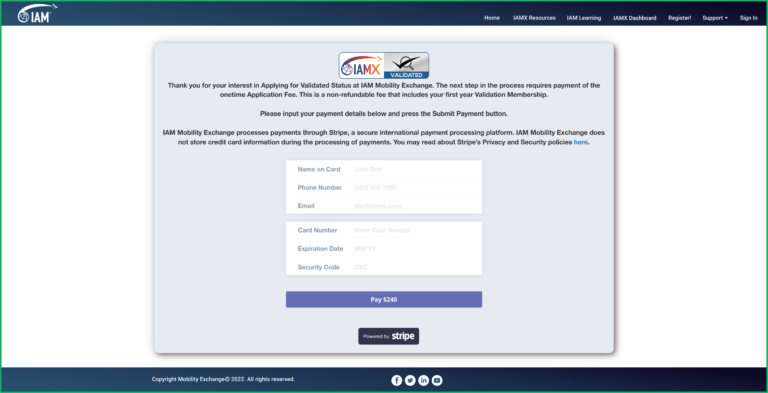
This will open the Payment Window. Enter your credit card details to complete payment. The invoice amount is automatically set based on your IAM membership status.
If you have multiple offices that wish to validate and prefer not to process each payment separately, contact us and we can arrange a single consolidated invoice.
Uploading Your Documents
Submit supporting documents for your established year, memberships, and certifications.
A document must be provided for the Established Year. This is the year the business was first established, and the calculation displays the years in continuous service. If a business voluntarily ceases and closes operations, the years of continuous service will be recalculated from when it is reestablished in that market. Most service providers submit an official incorporation document.
The remaining validation elements are found in the Affiliations & Memberships section and the Standards & Certifications section. In each, place a checkmark next to the qualification you wish to validate:
- Certain qualifications such as a license may have an identifying number, which can be entered in the provided field.
- Certain qualifications such as an ISO certificate will have an expiration date, which should be entered.
- Some qualifications do not have an expiration date — leave these blank. The system will automatically set a 6-month review reminder for these.
To upload a supporting document, click the paperclip icon to the right of the expiration date field. This opens a dialog where you can select the file from your computer. If the upload is successful, a blue document icon will appear next to the entry.

Tracking Your Progress
Use the Validation Checklist to monitor each qualification's review status.
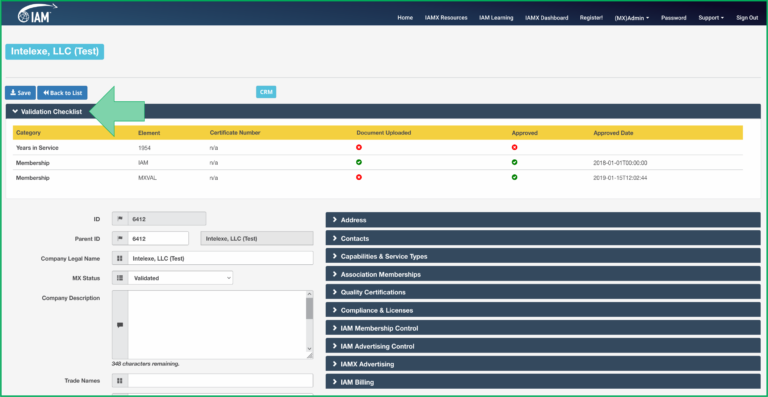
Track your progress using the Validation Checklist. Once you upload a document, the Document Upload parameter turns green. Once our team has reviewed and approved the qualification, the Approved parameter also turns green.
If you are having difficulty completing validation because one or two documents are missing, consider unchecking those specific qualification elements for now. This will speed up the overall validation process — you can always re-check the qualification and upload the document once it becomes available.
If you obtain new qualifications after your initial validation, you can follow the same procedure at any time — simply check the new qualification and upload the supporting document.
Once all parameters are green, our team will finalize your Validated status. Validation will prioritize your listing in search results wherever your company's location and qualifications match the search criteria.
Logo & Profile Image
Display your brand in IAMX search results and your company profile page.
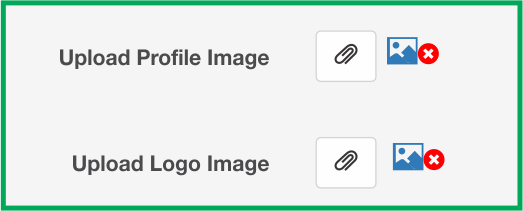
Validation allows you to display your company logo in search results and on your Company Profile page, along with a profile image on your profile page. The image upload section is located at the bottom left of the Edit page.
- Company Logo: 300 pixels wide × 150 pixels tall
- Profile Image: 1,400 pixels wide × 500 pixels tall
Our Content Analyst is happy to resize your files for the best display. If you need help choosing or preparing an appropriate profile image, email support@mobilityex.com for assistance.